How do I add a navigation menu to my project?
Learn how to create and display a navigation menu in your Blutui project using the CMS menu function and a reusable header component.
Introduction
Now that you know how to create pages, it’s time to connect them with a navigation menu.
Menus help users explore your site and are managed directly from your project dashboard.
Create a navigation menu
- Open your project in the Blutui dashboard.
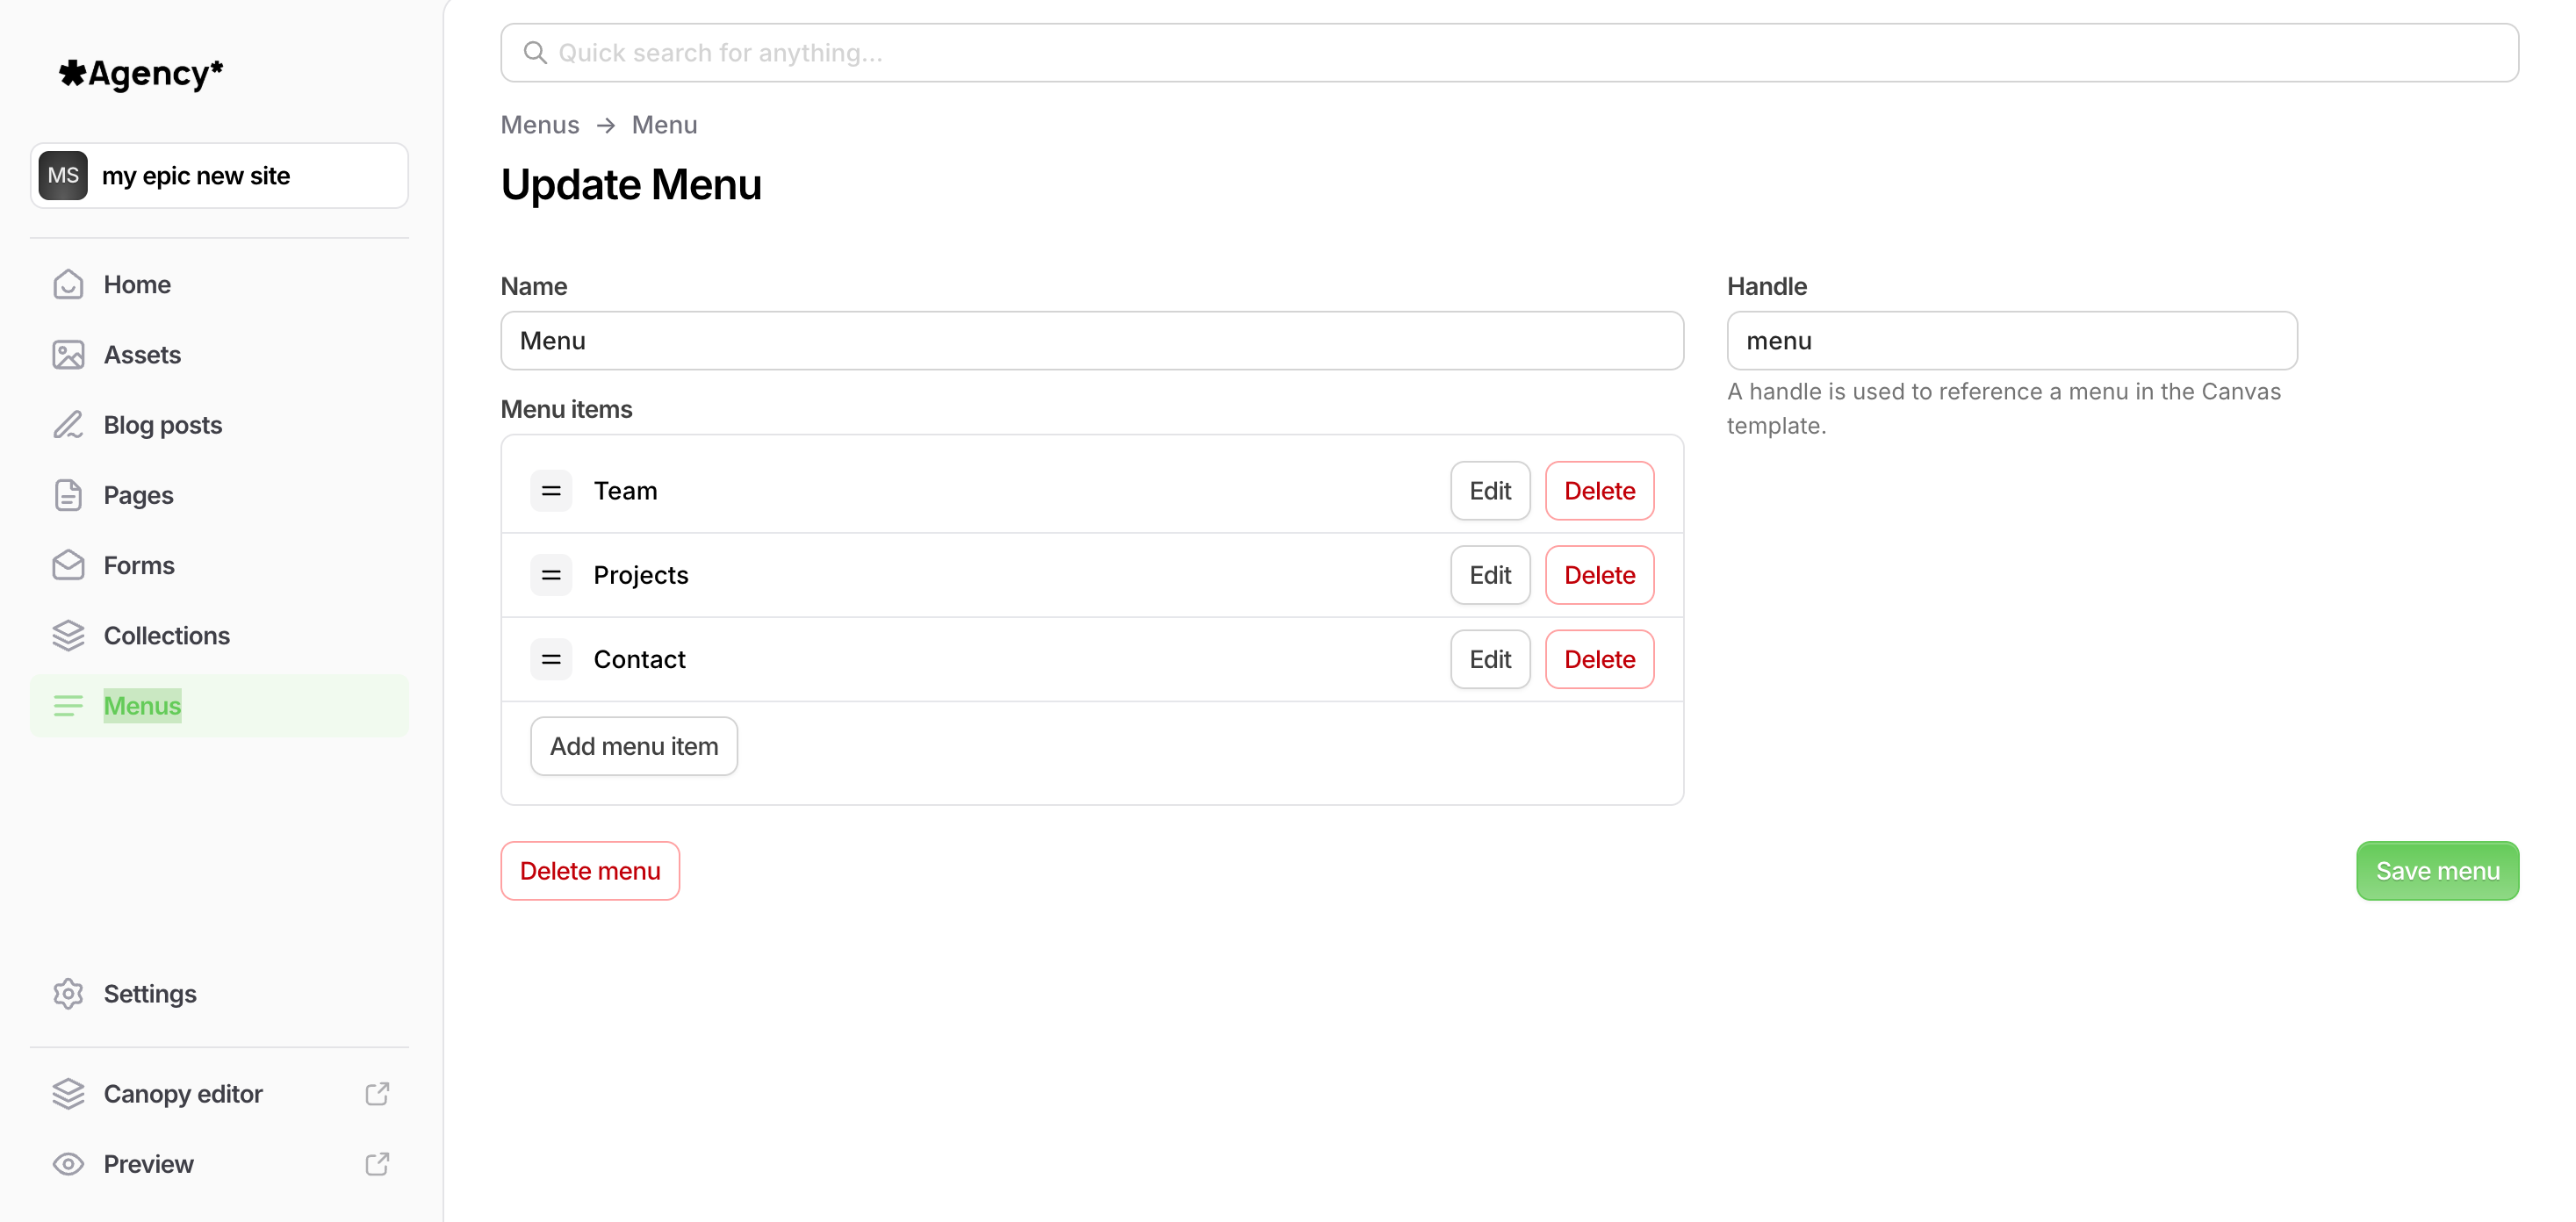
- Navigate to the Menus section using the sidebar.
- Click Create menu in the top-right corner of the page.
- Give your new menu a Name, add your desired items, and set a Handle.
The Handle is used to reference your menu in your Canvas templates.
Create a header component
To display your menu across multiple pages, it’s best to place it inside a reusable header component.
- Inside your project’s
viewsdirectory, create a folder calledcomponents(if it doesn’t exist). - Inside that folder, create a file named
header.html.
Your structure should look like this:
views/
└── components/
    └── header.html
Now open header.html and add the following Canvas code:
{% set menu = cms.menu('main') %}

<header>
  <nav>
    <ul>
      {% for item in menu.items %}
        <li>
          <a href="{{ item.href }}">{{ item.label }}</a>

          {% if item.items %}
            <ul>
              {% for subitem in item.items %}
                <li>
                  <a href="{{ subitem.href }}">{{ subitem.label }}</a>
                </li>
              {% endfor %}
            </ul>
          {% endif %}
        </li>
      {% endfor %}
    </ul>
  </nav>
</header>
This code:
- Fetches the menu with the handle
main. - Loops through each menu item and displays it as a list.
- Checks for submenus (nested items) and renders them using a nested loop.
Include your header in a layout
Once your header component is ready, you can include it in your main layout file (for example, templates/default.html) so it appears on every page.
Open your layout file and include the component inside the <body> tag, typically above your {% block body %}:
{% include 'components/header' %}

{% block body %}{% endblock %}
This makes the navigation menu part of your site’s shared structure.
Extra tip
If your menu includes submenus, each item’s children can be accessed using item.items.
Simply loop through these nested items (as shown above) to display dropdowns or secondary navigation lists.
Next steps
You can now customise your navigation’s HTML and styling to match your site design. Menus can also be combined with active-state highlighting, dropdown styling, or responsive toggle menus.
Last updated on
How do I create a blog in my project?
Learn how to set up a blog, create posts, and render the blog index and individual posts using Canvas.
How do I expand page content using collection data?
Learn how to use collections to extend and enrich your page content — for example, adding author details to blog posts.