How do I add data-driven content to my project?
Learn how to use Blutui Collections to create and render dynamic, data-driven content in your project.
Introduction
Now that you’ve set up your content, navigation menu, and editable pages, you may want to add dynamic data-driven content — things like products, staff members, locations, or galleries.
This is where Blutui Collections come in.
Collections allow you to define reusable data structures using a wide range of field types, making it easy to create dynamic, flexible content that can be managed directly from the dashboard.
Create a basic collection
Like most content types in Blutui, everything begins in your project dashboard.
- Open your project in the Blutui dashboard.
- Navigate to the Collections section using the sidebar.
- Click Create collection to start a new one.
When creating a collection, you’ll define the fields that will hold your content data.
For this example, let’s add three fields:
- Text — for the staff member’s name
- Textarea — for their bio or description
- Image — for their profile picture
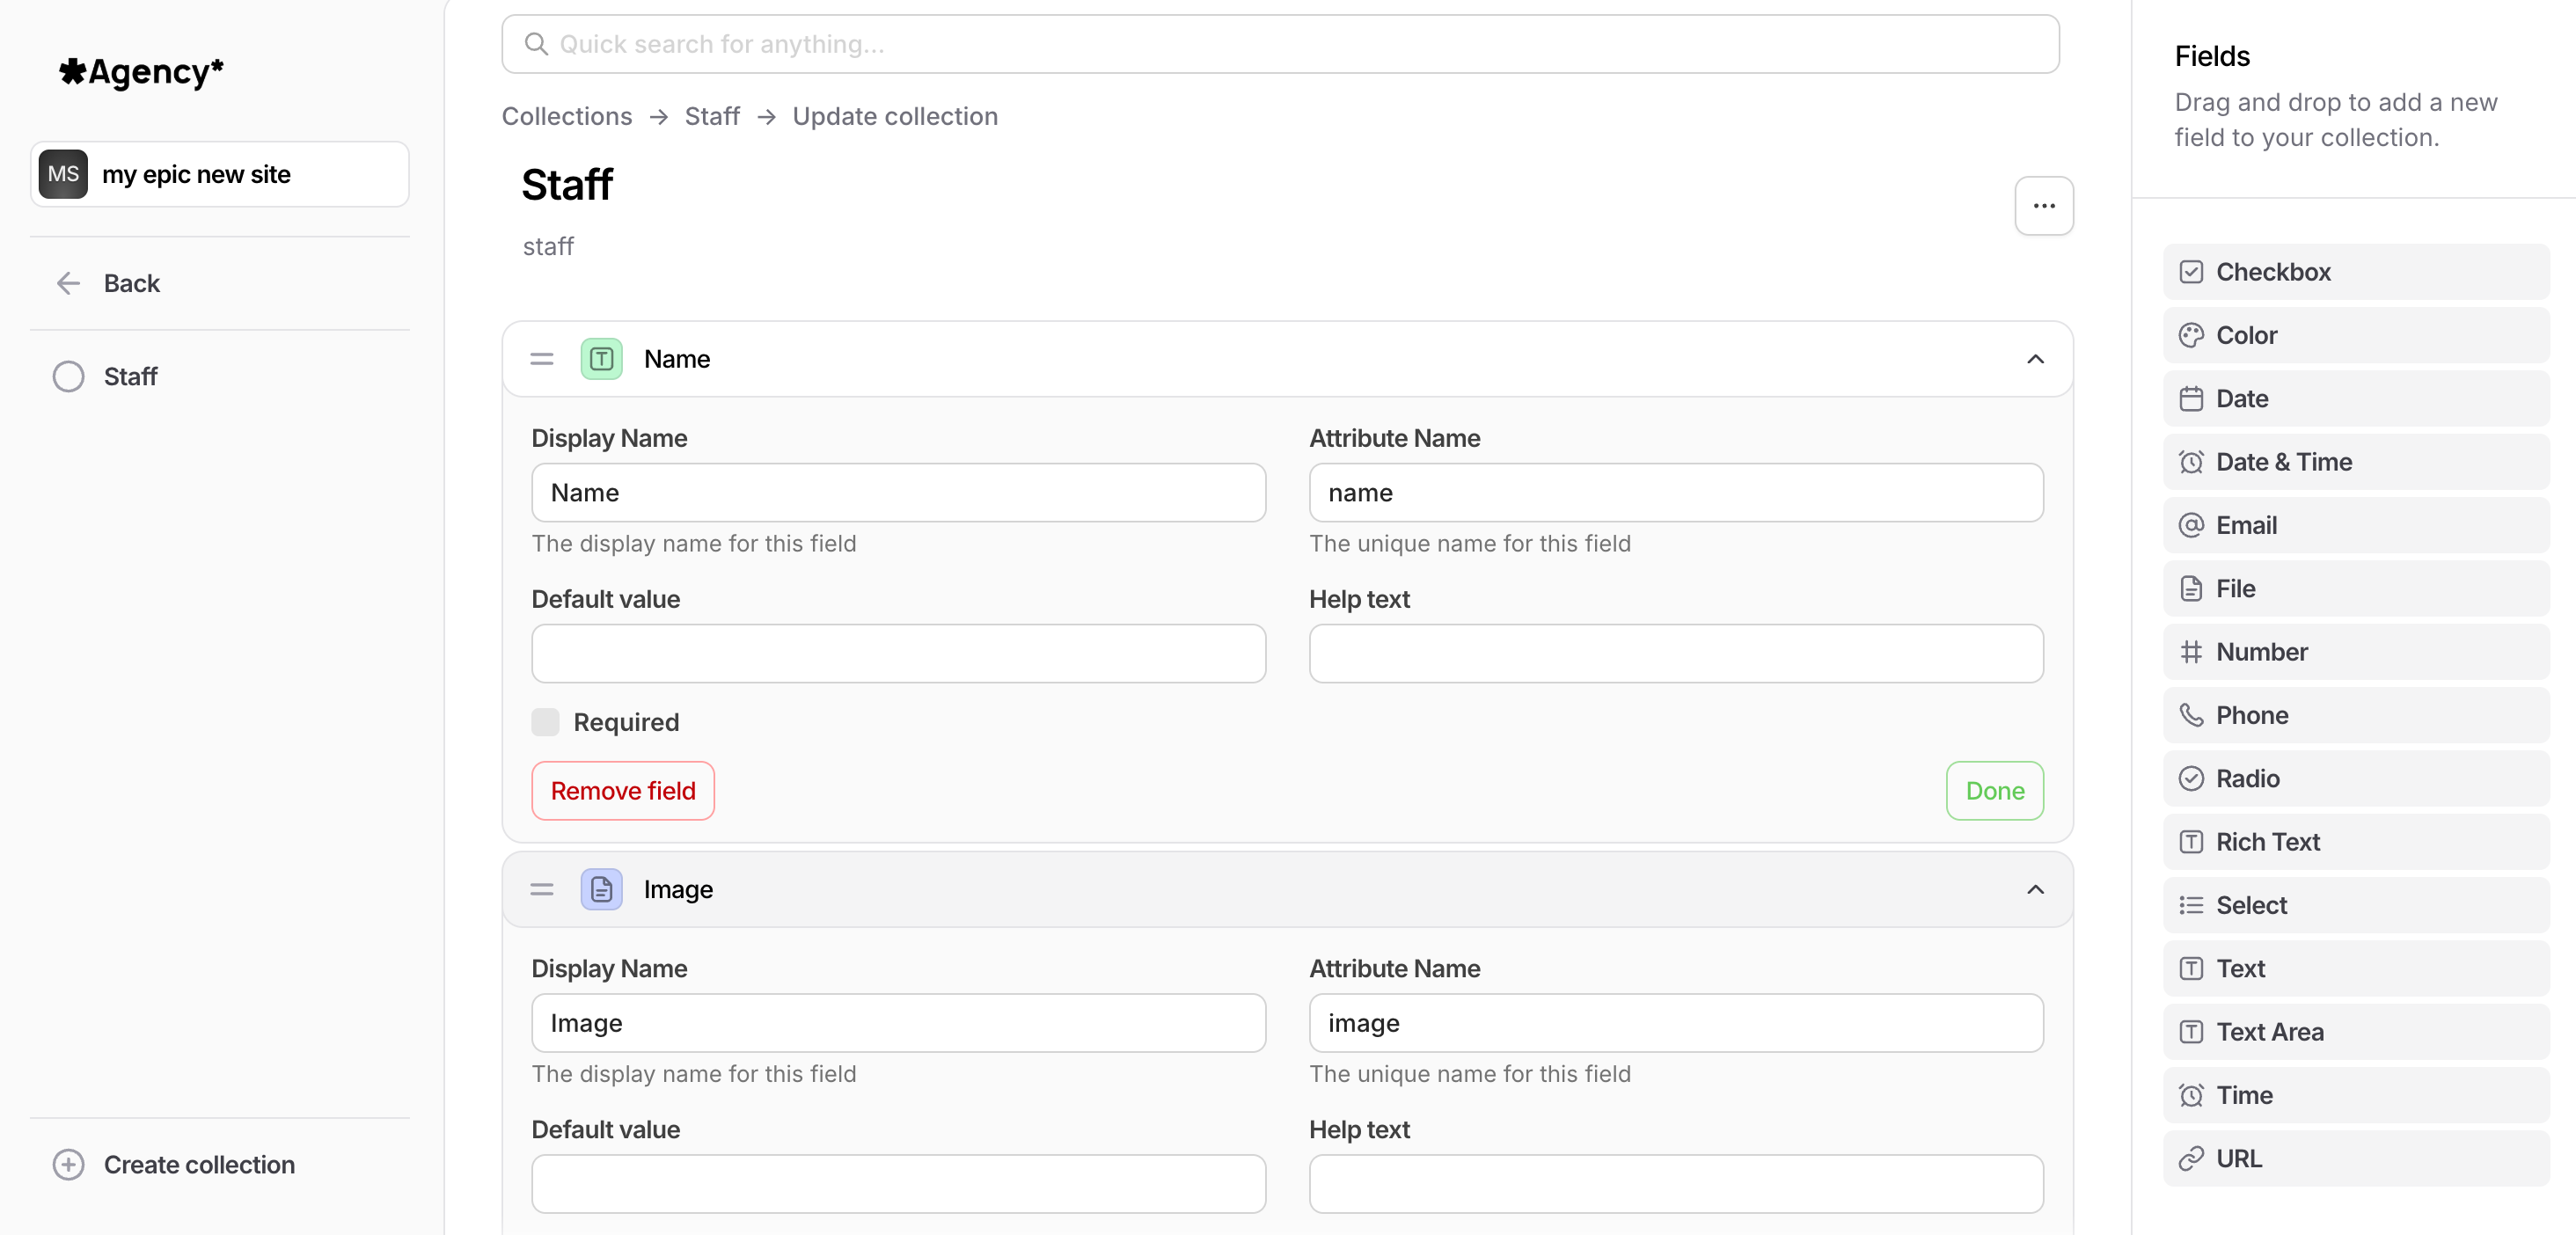
Each field requires a Name, which is how you’ll reference it in your templates later.
Create a template for your collection
Once your collection is set up, you can display it on your site using a Canvas template.
In this example, let’s say our collection’s handle is staff.
- Inside your project’s
viewsdirectory, create a new folder calledcomponents(if it doesn’t already exist). - Inside it, create a file named
staff.html.
Your file structure should look like this:
views/
└── components/
    └── staff.html
Now open staff.html and add the following Canvas code:
{% set collection = cms.collection('staff') %}

{% for entry in collection %}
  <div>
    <img src="{{ entry.image }}" alt="{{ entry.name }}" />
    <h2>{{ entry.name }}</h2>
    {{ entry.bio | raw }}
  </div>
{% endfor %}
This code:
- Retrieves the
staffcollection and assigns it to a variable. - Loops through each entry in the collection.
- Renders the image, name, and role for each item.
Include your collection template in a page
To display the collection on your page, include your new component in a page or layout template using the {% include %} tag:
{% include 'components/staff.html' %}This will render all the entries from your staff collection wherever you place the include.
Next steps
You can extend this approach to display any type of data — such as galleries, products, testimonials, or store locations. Collections give you full control over how your content is structured and presented.
Last updated on